Posts

Showing posts with the label T-Brick Shed

Shed Down

Image
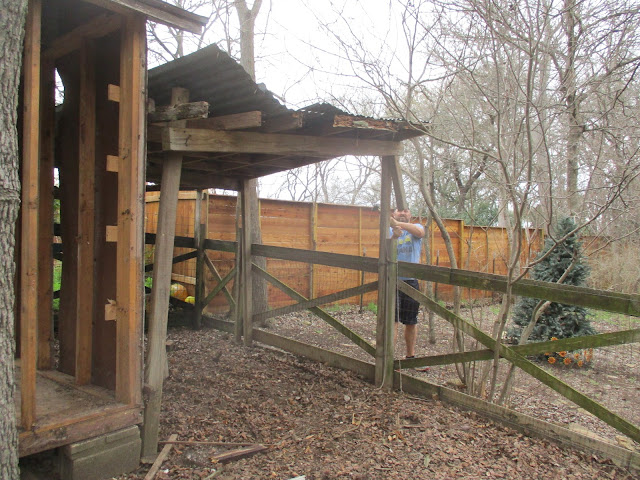
With the T-Brick shed in operation the time for the removal of  the old shed is long overdue . Over the past couple of weekends Paul and I have dismantled the structure. Paul working the sledge hammer to remove a particularly obstinate piece that we believe would bring the old structure tumbling down. Our father who had constructed it several decades ago swore that he had used some screws in the assembly. Alas, all we found were lots of very long nails and bolts. For an edifice seemed destine to fall apart on its on accord disassembly was elusive... ...For a while at least. After a few critical structural elements were removed Paul was able to push the old shed over single-handedly. "Fire is bright and fire is clean." To tell the truth I was most interested in getting rid of the old shed for the salvage. We were able to recover a good deal of the lumber but insects and time had gotten the better of a fair amount of the material. Scouring the old...

T-Brick Shed: Shelves

Image
Yes, a very exciting moment the shed's life. We have shelves now.

T-Brick Shed: Floor Finish

Image
After the floor dried completely I applied a thin (1/4" - 1/2") layer of a sand/clay mix (approximately 80/20 ratio) over the entire floor to fill in cracks and provide a base to lay some saltillo tiles in the entry way. I also used  the mixture as grout between the tiles. After about a week it had dried out and I entered the final phase of sealing the floor. I applied several coats of boiled linseed oil to the earthen floor. The oil hardens upon drying making the floor more durable and reducing water absorption. The last layer has dried. Time to seal. Applying the boiled linseed oil was pretty quick and easy. I would just pour some oil on the floor, let it soak in for a few minutes and then wipe it around with an old rag. It took less than an hour for each coat. The biggest danger with boiled linseed oil is that as it hardens it generates heat. You have to be careful with disposal of rags as they could spontaneously catch fire. After applying the second ...

T-Brick Shed: Poured Adobe Floor

Image
I finished the poured adobe portion of the floor today. The section we did last week was still too wet to walk on so I estimate we have at least two weeks to wait before we can think about sealing it with boiled linseed oil. I'm sure I can find something to keep me busy in the meantime. This will probably be the last day I used the concrete mixer for this project. Hurrah! It survived! Jean and Currell did a great job on the east and west sides of the building last week. I'm finishing up the center.

T-Brick Shed: Sub-Floor

Image
While I have quite a list of future extensions to the T-Brick shed (including but not limited to, rain water collection system, biogas digester, solar panels, more shelving and more cob sculpture) we're moving on to what I'm going to consider for the near future the final phase of this project, the floor. With the floor complete the shed will be functional as a shed so that addition to being a neighborhood conversation piece it can also be used to store stuff. Then I can divert temporarily to other projects without feeling guilty. The first load of many of the day. This gravel will form a moisture break to prevent water from wicking up from below ground. The plan is to build the floor up about 8 inches to the door threshold. I'm using the line level to place markings where final floor level will be.  The first wheel barrow of gravel for the day Laying out landscape cloth. The landscape fabric will prevent the subsequent layer of road base(sand, clay and g...

T-Brick Shed: Wrapping up Interior Plaster

Image
I haven't been slacking off the past few weeks. It's just I haven't had the most interesting pictures to post. I'm about ready to call the interior plaster finished and start preparations for the floor. After some clean up, the bottle windows in the pony walls are looking pretty good. Cleaning up the bottle window

Inaguration Day

Image
Heating wax and comfrey'lavender  infused oil In the spirit of contrarianism I thought I should try to get something useful accomplished this inauguration day. First thing in the morning, I performed the not so glamorous duty of rotating our compost bins. The bins are twenty gallon plastic trash cans with holes drilled in the sides and bottom for ventilation. Over the course of several months we'll fill a bin with alternating layers of kitchen scraps and leaves or shredded paper. When the bin fills up we rotate it to the back to allow the contents to break down. I moved the recently filled bin to the back and decanted the bin that had been sitting up. Apart from some egg shells and bits of fabric, the contents had broken down into a soil-like substance. The compost from the middle down was wet and sour smelling meaning it wasn't getting enough air and anaerobic decomposition was going on. Perhaps I'll drill some more ventilation hole.  I was also disappointed to...