T-Brick Shed: Sub-Floor
While I have quite a list of future extensions to the T-Brick shed (including but not limited to, rain water collection system, biogas digester, solar panels, more shelving and more cob sculpture) we're moving on to what I'm going to consider for the near future the final phase of this project, the floor. With the floor complete the shed will be functional as a shed so that addition to being a neighborhood conversation piece it can also be used to store stuff. Then I can divert temporarily to other projects without feeling guilty.
 |
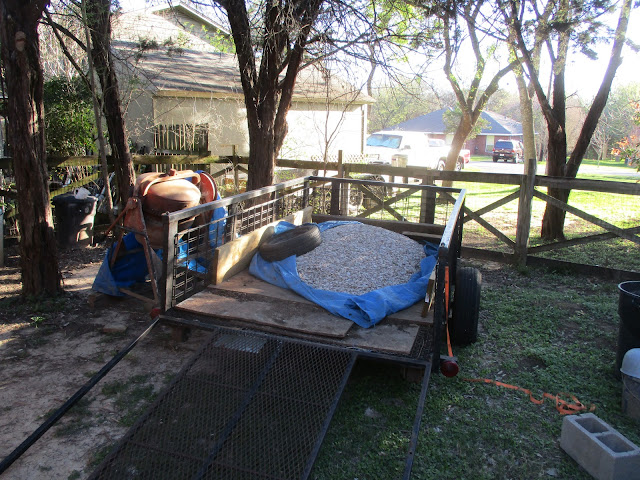
| The first load of many of the day. This gravel will form a moisture break to prevent water from wicking up from below ground. |
 |
| The plan is to build the floor up about 8 inches to the door threshold. I'm using the line level to place markings where final floor level will be. |
 |
| The first wheel barrow of gravel for the day |
 |
| Spreading out the road base |
 |
| The third load of the day (1 load of gravel and 2 loads of road base) |
 |
| Tamping the road base |
 |
| The end of the first day |
 |
| Day 2 and another load of road base. |
 |
| More tamping |
 |
| Applying the final layer of poured adobe. This is a straw, clay sand mix similar to what was used for the walls. |
 |
| We devised a way to chop up our straw into smaller pieces using a weed eater and trashcan with a hole in the lid. |
 |
| Western part of the poured adobe section complete |
 |
| Working on the eastern part of the floor |
 |
| The end of the second day |


Comments