T-Brick Shed: Drip Edge, Felt Paper and Roof Paneling
Give a cob house a good pair of boots and a good hat and she'll last forever.
- Old English saying
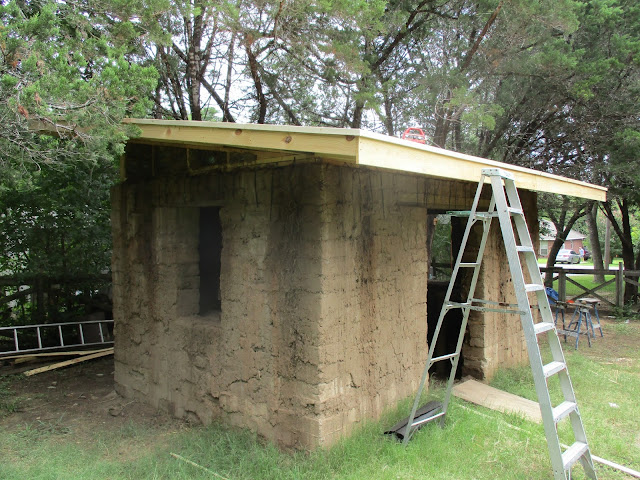
O frabjuous day! It's been a long time coming but the shed now has permanent rain protection. Hurrah!
 |
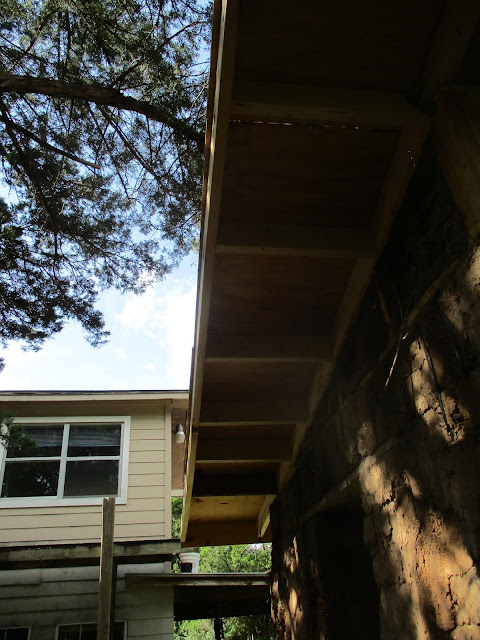
| With the excess decking removed, I was able to install 1x2 drip edge all the way around. |
 |
| After lunch we picked up the sheet metal roof panels. |
 |
| Installing the felt paper. |
 |
| The nail gun makes quick work. |
 |
| Felt paper down. |
 |
| Getting ready to bend some flashing into shape. |
 |
| Installing flashing |
 |
| Laying out the first panel. Across the front of the building I put on a temporary 2x6 "bumper" board to keep the panels from sliding off while we were trying to install them. |
 |
| Laying in the rest of the panels. We laid them all in first and shifted them around to even up the overhang on either side. |
 |
| Elder abuse! Elder abuse! At this point my Dad had trying to go back inside the house for the past three hours. Thanks for the help! |
 |
| A romantic Friday evening roofing. Jean showed up after work to help secure the roof panels. |
 |
| The panels are highly reflective so it's best to work on them in the early morning late afternoon/early evening. That's what I told Jean at least. |
 |
| We still need to put screws in the middle of the panels but we put enough in to hold it down for now. |


Comments